Viewscreens
Both the viewscreens for the beam and the cameras to monitor the laser all follow the same strategy.- Viewscreen is inserted via an EPICS command
- Camera data taking is enabled via an EPICS record
- Camera records images at a given rate and exposure time
- The IOC for the camera gets this data, and packages it into a single array and serves it to EPICS
- The user gets the camera data via this EPICS record
- Raw data in the appropriate EPICS record
- Matlab script "beamview"
- ImageJ plugin "EPICS_areaDetector"
Example: Getting the A1 camera enabled, and the viewscreen inserted.
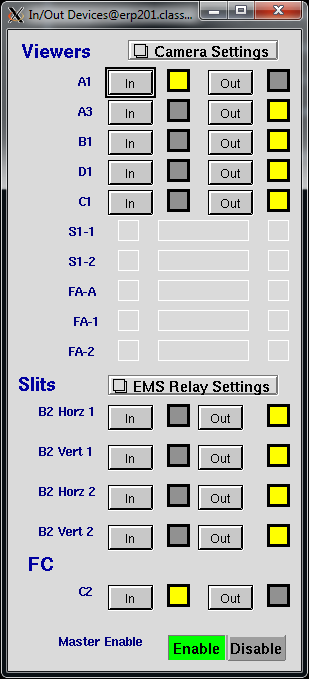
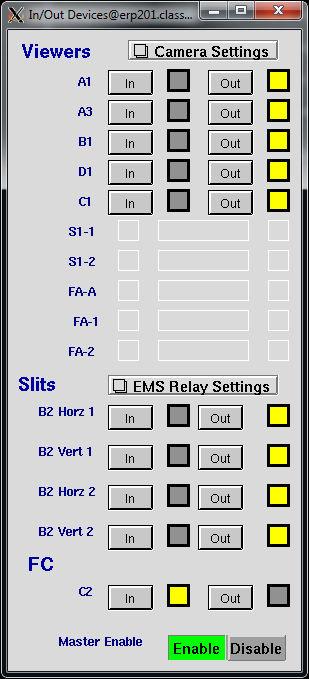
In more detail, here is an example where the user wants to view the beam on the first A1 viewscreen.- From the main EDM screen, choose "Beam Diagnostics" -> "In/Out Devices"

- On this screen you see a list of the various insertable devices-- viewscreens, slits, Faraday cups, etc.

- Click the "In" button that is next to the letters "A1". After a few seconds, the indicator should light up next to "In".

- If you are using Beamview, then you are done.
Otherwise, you need to enable to correct camera. Click "Camera Settings" at the top of the window.
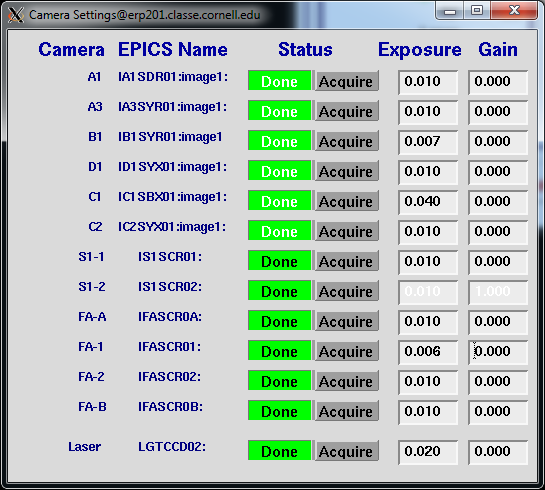
- On this screen you can see a list of the cameras and their status and settings. Make sure that all of the cameras are "Done", and then select "Acquire" on the A1 camera. In general, try to limit the number of cameras set to Acquire to a small number, so that the network is not overwhelmed with the traffic from the cameras' data.

Raw data access
- Looking at the above screen that lists the "EPICS Name" of the camera, the raw data is stored in the EPICS record with that string followed by "ArrayData". For example:
erpopr@erp201:~ $ caget IA1SDR01:image1:ArrayData
 ....   huge amount of data follows here   ...
- Of course, the data can also be retrieved similarly in Matlab or python from that record
ImageJ
- From a Windows computer (assuming ERL_ONLINE is mounted as Y:\), run the following visual basic script: Y:\opt\ImageJ\ImageJ_autoepics.vbs
- From a linux computer logged in as erpopr, run the following script from the erpopr home directory: ./ImageJ.sh &
- In either system, this will result in the main ImageJ window appearing

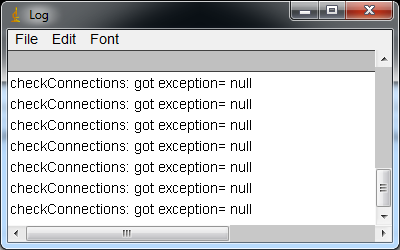
- From here, select "Plugins" -> "EPICS_areaDetector" or "EPICS_areaDetector_median" -> "EPICS AD Viewer". The latter script has a 3x3 median filter built in to remove dead pixels. This will open up the camera's main control window and an annoying log window, which you can typically immediately minimize.


- Enter the "EPICS name" of the camera in the PVPrefix box. Finding the EDM screen with the EPICS name is described in the above example. When you hit enter, it should turn green. Red indicates a typo or a problem with the camera.

- Click "Start", and a window will appear that initially is all white. In addition, the "Frames/s" should now display a number in the main camera window.

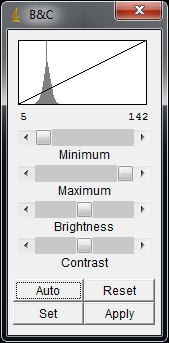
- On the main ImageJ window, choose "Image" -> "Adjust" -> "Brightness/Contrast". The settings should auto set, but if not then click "Auto" on the popup window.

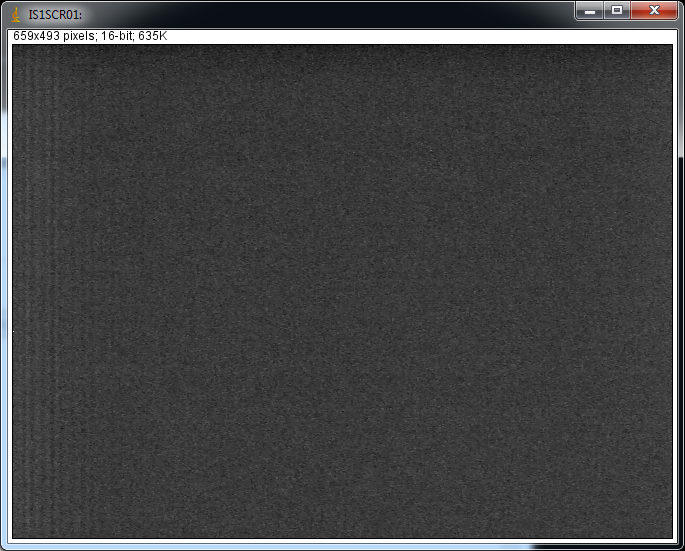
- Now, you should see a beam, or at least some noise on the camera.

Beamview
The primary method that we use to look at the beam is through the Matlab script Beamview.- On Windows, there is a batch script (assuming ERL_ONLINE is mounted as Y:\) : Y:\ops\matlab_scripts\beamview\beamview.bat
- On linux as erpopr, just type "beamview" at the prompt.
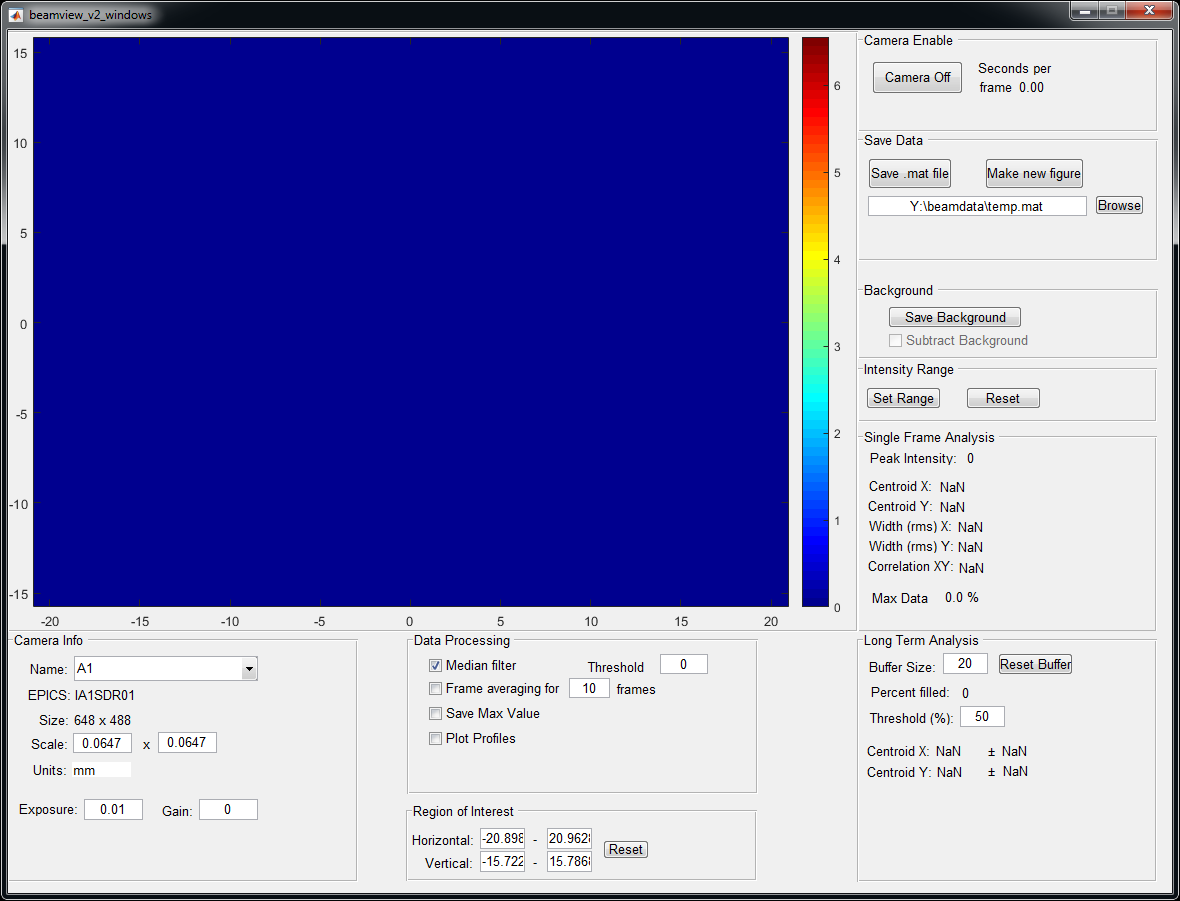
 Beamview controls
 - Camera Info
- Name: Use this to choose the camera that you want to view. Selecting the camera does not insert the viewscreen, that needs to be done manually.
- EPICS: The name in EPICS
- Size: H x V pixel count
- Scale: the scale of the screen in "units"/pixel
- Units: used in above, most often "mm"
- Exposure: exposure time in seconds
- Gain: Usually set to zero
- Data Processing
- Median filter: a 3x3 median filter to remove bad pixels
- Threshold: Below this percent of the maximum value, the data is set to zero
- Frame averaging: averages the last N frames
- Save Max Value: Each pixel stores the largest value seen since turned on
- Plot Profiles: Opens two new 1D plots that show the horizontal and vertical sum of the data
- Region of Interest
- Enter values in units of millimeters to crop the data
- Reset: return to the full view of the screen
- Camera Enable
- Camera On/Off : When "off", this button stops beamview from Acquiring new data, but leaves the camera itself turned on.
- Seconds per frame: how long it took to acquire and analyze a single image
- Background: When the beam is turned off, you can save a BG image for the camera that is subtracted from the data.
- Intensity Range
- Set Range: Set the colorbar scale so that the peak data value is at the max of the colorbar
- Reset: Set the colorbar scale so that the maximum possible data value is at the max of the colorbar
- Single Frame Analysis: Simple calculations done on the data
- Centroid / Width / Correlation: Note: these often are meaningless without a non-zero threshold
- Max data: how close is the camera to saturating, in percent
- Long Term Analysis
- Buffer Size: Number of frames to include in the analysis
- Percent filled: Initially will increase from 0-100% as the buffer fills
- Threshold: A separate threshold that is only used to analyze the data here, and does not affect what is shown in the image, or the single frame analysis
- Centroid X/Y: Centroid position and standard deviation, interpreted as the jitter in the beam position
IS1SCR01_y_avg : Single frame y position centroid
IS1SCR01_xy_avg : Single frame average value of x*y (the correlation in x and y)
IS1SCR01_x_rms : Single frame x beam size
IS1SCR01_y_rms : Single frame y beam size
IS1SCR01_intensity_sum : Single frame sum over all pixel values
IS1SCR01_intensity_peak : Single frame maximum of all pixel values
IS1SCR01_x_avg_long : Many frame average of x position
IS1SCR01_y_avg_long : Many frame average of y position
IS1SCR01_x_jitter : Many frame std of x position
IS1SCR01_y_jitter : Many frame std of y position


Ideas, requests, problems regarding CLASSE Wiki? Send feedback