Image Processing Techniques for X-ray data
This page contains information and tutorials about Flat-field image correction and Particle Image Velocimetry (PIV), which are tools used to process images from x-ray data produced using full field imaging.What you will need:
To follow or run the tutorials below, you will need to install Python and Jupyter Notebooks. We recommend a distribution of python contained within the Anaconda package manager. For detailed help, see our HowToInstallPython page.Common Terms and Definitions
- Spectroscopy: the branch of science concerned with the investigation and measurement of spectra produced when matter interacts with or emits electromagnetic radiation (source: Oxford Languages)
- Radiography : the process of using some form of radiation other than visible light to produce an image, typically using x-rays or gamma rays (source: Merriam-Webster)
- Phase-Contrast Imaging : a contrast-enhancing optical technique utilized to produce high-contrast images (source: miscroscopyu.com)
- HDF5 : a "Hierarchical Data Format version 5" file type. These types of files are widely used in the scientific community to store lots of data and uses a "file directory"-like structure, making it easy to organize (source: neoscience.org)
Flat-field Image Correction
What is Flat-field image correction?
Flat-field image correction refers to the elimination of image contrast due to variations in the incident beam intensity in different regions of the image. This section provides an overview of the steps involved, as well as a step-by-step tutorial contained in a Jupyter notebook. In the tutorial, raw images that look like this: are corrected to look like this:

In order to run the tutorial:
- Make sure you have a working version of Python & Jupyter (see HowToInstallPython)
- Download the "Flatfield_tutorial" zipped folder (at the bottom of the page) and place files such that they can be accessed by the notebook
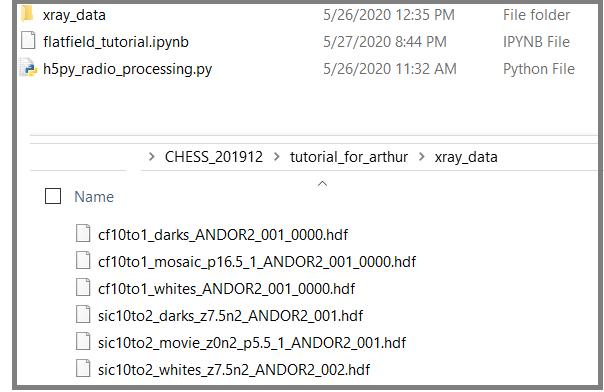
- ***Note: file structure must be the same as the image in the link below for the tutorial to work
- If you installed Anaconda, make sure you install the "imageio_ffmpeg" package in addition to the other packages specified within the Anaconda Prompt (found in your system apps).

Overview of steps in the tutorial:
Coarse:
Flat-field correction comprises 4 steps: loading the data, processing a single image and finding appropriate crop dimensions, correcting the remaining images, and compiling an mp4 video.Fine:
- Start by analyzing a single image. Load the hdf5 x-ray data and locate the image infomation within the hdf5 file using "h5py.file" command and finding the ("data") header
- Once image data is located in the hdf5 file, assign a variable to the path to the image data
- Use the image data from the location specified to plot the raw uncorrected image
- Crop the data to remove unused areas of the image, and save the crop dimensions in a variable to use for all other image frames
- Conduct a flatfield correction using the "flatfield_correction()" function. Now the flatfield correction has been done for a single image. The next step in this procces will be to repeat this procedure for the rest of the images as a batch.
- Load the rest of the images to be used in the video using the same file path as before, but on the "darks" and "whites" files
- Crop the data using the same dimensions as before
- Use the "flatfield_correction" function to normalize the picture
- Install necessary imageio pip package to compile the mp4
- Compile the mp4
Particle Image Velocimetry
What is Particle Image Velocimetry?
Particle Image Velocimetry (PIV) is a method of visualizing flows from radiographs by creating a vector field. It can be used to produce instantaneous velocity measurements within a flow, given there are particles in the fluid that can be used to measure displacement. By knowing the displacement of the particles between frames in combination with the time between each frame, velocity vectors can be calculated for each particle (velocity = displacement ÷ time). This can be helpful in determining potential causes of clogs in a pipe, for example: while 3D printing. This section provides an overview of the steps involved, as well as a step-by-step tutorial contained in a Jupyter notebook. Using PIV, we can create velocity fields for flows such as the one below:
In order to run the tutorial:
- Make sure you have a working version of Python & Jupyter (see HowToInstallPython)
- Download the "PIV_tutorial" zipped folder (at the bottom of the page) and load into Jupyter Notebooks
- This tutorial requires images that have already been flat-field corrected. It will be helpful to run the tutorial above if you do not already have data of your own.
Overview of steps in the tutorial:
Coarse:
Particle image velocimetry comprises 4 steps: loading the data, mapping the "mask" image, measuring the displacement of particles between frames, and creating a velocity field.Fine:
- Start by creating a "mask" image that outlines the area to be analyzed. This step can be done by drawing an overlay of the first image to be used, using Microsoft Paint
- Upload the data, and organize your files in the same fashion as described in the tutorial
- Map points on the "mask" image
- Analyze the change in position of particles in a small region of two test images to give an initial "guess" value for displacement rates
- Analyze the change in position between two full images, and produce the velocity field (knowing the time between frames)


| I | Attachment | Action | Size | Date | Who | Comment |
|---|---|---|---|---|---|---|
| |
Flatfield_tutorial.zip | manage | 924 MB | 07 Jul 2020 - 12:47 | UnknownUser | |
| |
PIV_tutorial.zip | manage | 239 MB | 06 Aug 2020 - 23:55 | UnknownUser |
Ideas, requests, problems regarding CLASSE Wiki? Send feedback